Popping-in?

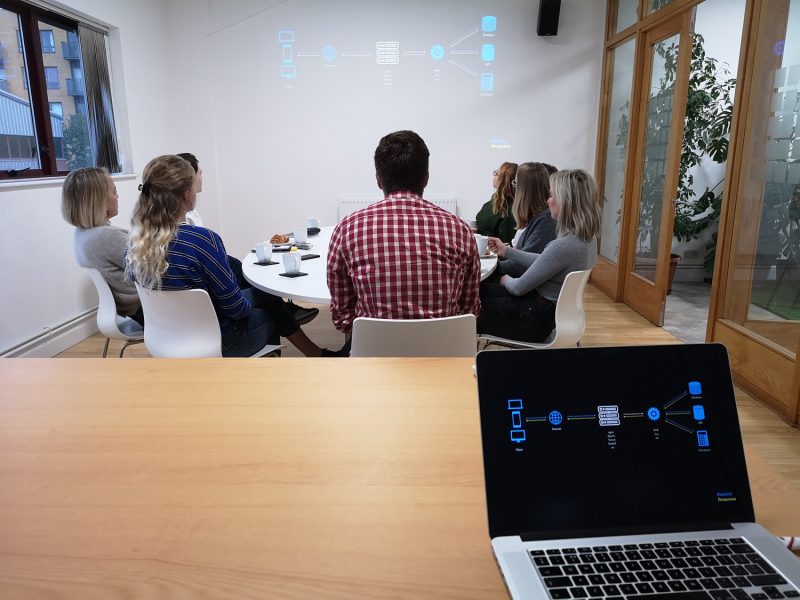
Our studio is filled with light and music.
There are multiple meeting rooms, a well stocked kitchen, and an indoor garden (with fishpond). Talk to us about access needs, environmental factors and any accommodations we might make to enhance your visit. Pop-in for tea and stay to use a spare desk for as long as you need.

11 Greenwich Centre Business Park,
53 Norman Road, Greenwich
London SE10 9QF

Cog is a Certified B Corporation

Public transport

We’re next to Greenwich train and DLR station. We have a door right on the concourse but it’s different to our postal address.

From Greenwich rail platform

This video shows the route to take from the train that will arrive at Greenwich rail station from London Bridge. There's a gentle slope next to the staircase.

From Greenwich DLR station

This video shows the route to take from the DLR that will arrive at Greenwich DLR station from Bank. There's a lift at the platform level if that's useful.

By car

If you have to come by car, we have a couple of parking spaces. We have a charging point that you are welcome to use if you have an electric car. Call ahead and we'll make sure the spaces are free. Use our postcode (SE10 9QF) to guide you in.

Get in touch

We’d love to hear from you. Use whichever medium works best for you.

11 Greenwich Centre Business Park,
53 Norman Road, Greenwich
London SE10 9QF

Cog is a Certified B Corporation

New project enquiry

It's exciting to chat about potential new projects. We don't have a ‘sales’ team or a form to fill in. Call us or give us a little detail via email and we'll get straight back to you.

enquiry@cogdesign.com

Website support

If you're a client then you'll be best served by calling us or contacting us via ClickUp, otherwise you can use this dedicated email that reaches all of the digital team.

digital@cogdesign.com

Finance questions

This email hits the inboxes of the people who deal with our bookkeeping and finances.

accounts@cogdesign.com

Just want a chat?

Sometimes enquiries don't fall neatly under a heading, do they?

hello@cogdesign.com

Cultural Calendar

A round-up of recommendations and reviews, sent on the first Friday of each month, topped-off with a commissioned image from a talented new illustrator. Sign-up and tell your friends.

Sign me up Cultural Calendar

Cog News

An irregular update of activity from our studio. Showing off about great new projects, announcements, job opportunities, that sort of thing. Sign-up and tell your friends.

Sign me up Cog News

Compressing images for your website

Compressing images for your website

The amount of energy used by data centres is growing unsustainably. Even though our servers are powered by 100% renewable energy, it’s still important (and cost effective) to compress images before uploading them to your site.

Here’s our guide to why and how.

Why bother?

We have all got used to creating hi-resolution images and video; most mobile phones can now create files at broadcast quality. That was unimaginable a few years ago. 

The files we generate are getting exponentially larger. And with so many of us creating so many files, the storing and moving of data is becoming a global problem.

Some estimates say that by 2030, one fifth of global electricity use will be through IT, data transfer and storage. That is unsustainable. 

Even if you’re not fussed about the sustainability argument, it’s worth remembering that every time an image is saved on, searched for and retrieved from a database, it is taking a fraction of a second. Those fractions add up and slow down your servers and your website. And you are paying for the storage. 

The smaller you make the files, the faster and cheaper your server will be.

Doesn’t my website already compress images before displaying them?

Yes, if we’ve built your website then we’ve built compression into the set-up. Your site will choose the optimal image size based on the size it needs to display. And we’re doing all sorts of other clever things like caching copies of the images so they don’t need to be retrieved from the database each time.

But we still need to store and move, and search through the original images that you upload to the server. So making those files smaller will make the whole process more efficient.


What are the numbers?

You don’t need to know about coding or be a maths genius, or even know the terminology used, to understand the huge potential savings from compressing images.

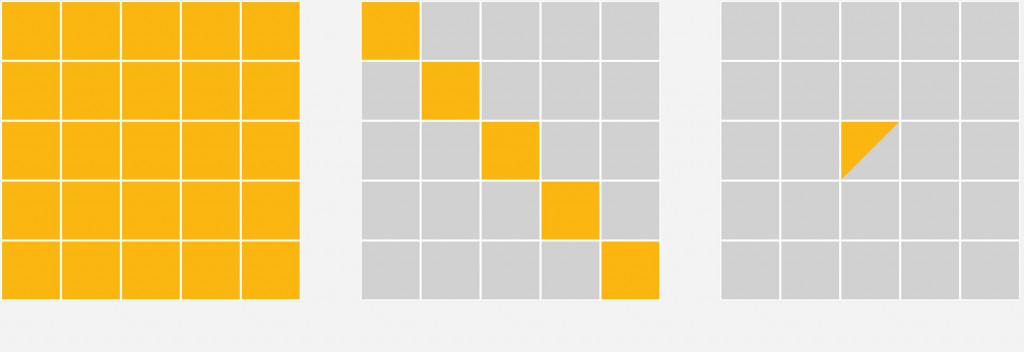
A full size image from a mobile phone might be 25MB. Simply saving that in an image compression file type (such as jpeg) can reduce that to around a fifth of that size. With some extra compression that image might be reduced to roughly 500K or less. 

Three five by five grids of squares. The left grid shows all 25 square in yellow, the middle has 20 grey and 5 yellow, the right has 24 and a half grey.

That’s a fiftieth of the size of the original.

Note: different images will compress in different ways, producing different results so the maths can be complicated and seemingly unpredictable.

Different file types

As you might imagine, compressing and storing data is complex. There are many different approaches, each with their own advantages and disadvantages, and their own weird names and acronyms. Tiff, EPS, GIF and PNG are all useful for different purposes.

The most widely used in digital image compression is ‘jpeg’ or sometimes ‘jpg’ (pronounced jay-peg), created by the Joint Photographic Experts Group in 1992.

Jpeg uses an algorithm to divide images into a grid and then average the tonal values across a group of grid references.  

The process is known as ‘lossy’ compression because you saving the reduced data and discarding the original. Each time you resave a jpeg the quality reduces.

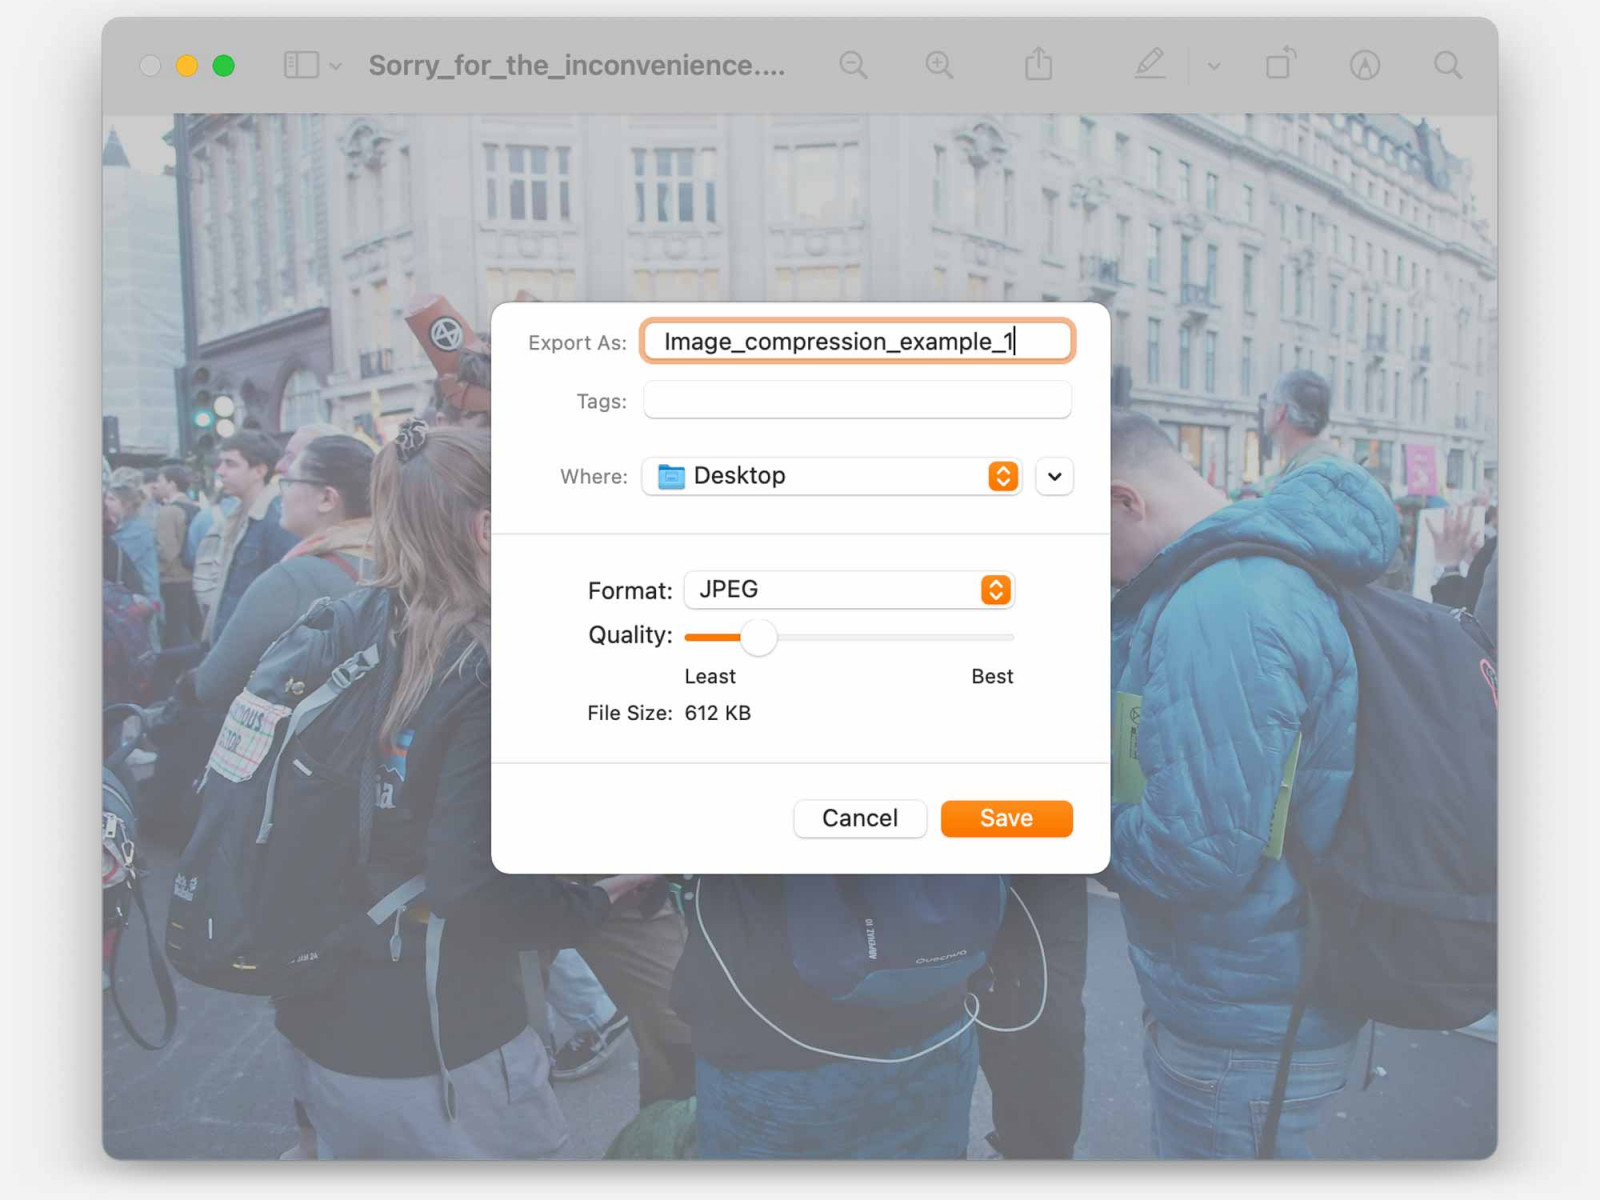
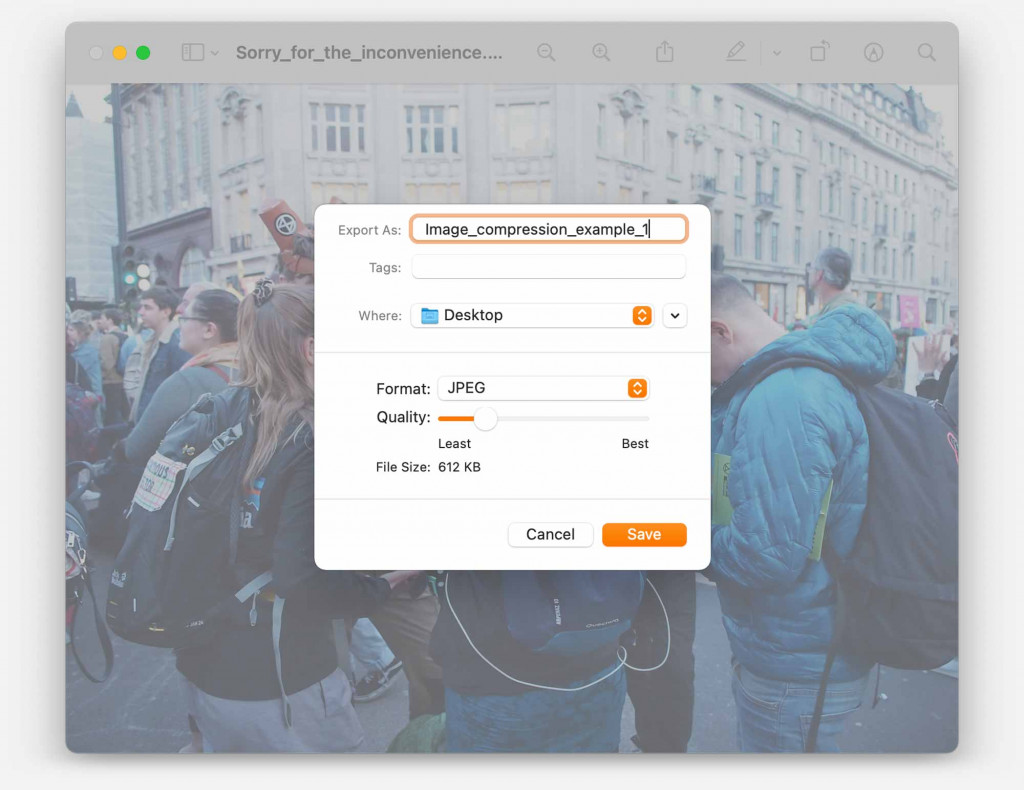
An image editing screen overlaid with a panel showing various settings. The Quality slider is set towards 'Least'.

Most image software lets you use a slider to decide how ‘lossy’ to be, and therefore how compressed the image will be.

What size to save your images

The dimensions (height and width) of an image are an important factor to consider. You should save your image at the maximum dimensions you might need it. 

As a general rule we’d say that a full screen image on even a very large screen needs only be around 3000 pixels wide (perhaps 4000px if its a really key display image).

And if the image is going to be used smaller (in boxes or discrete areas of the site) then you can afford to make it smaller.

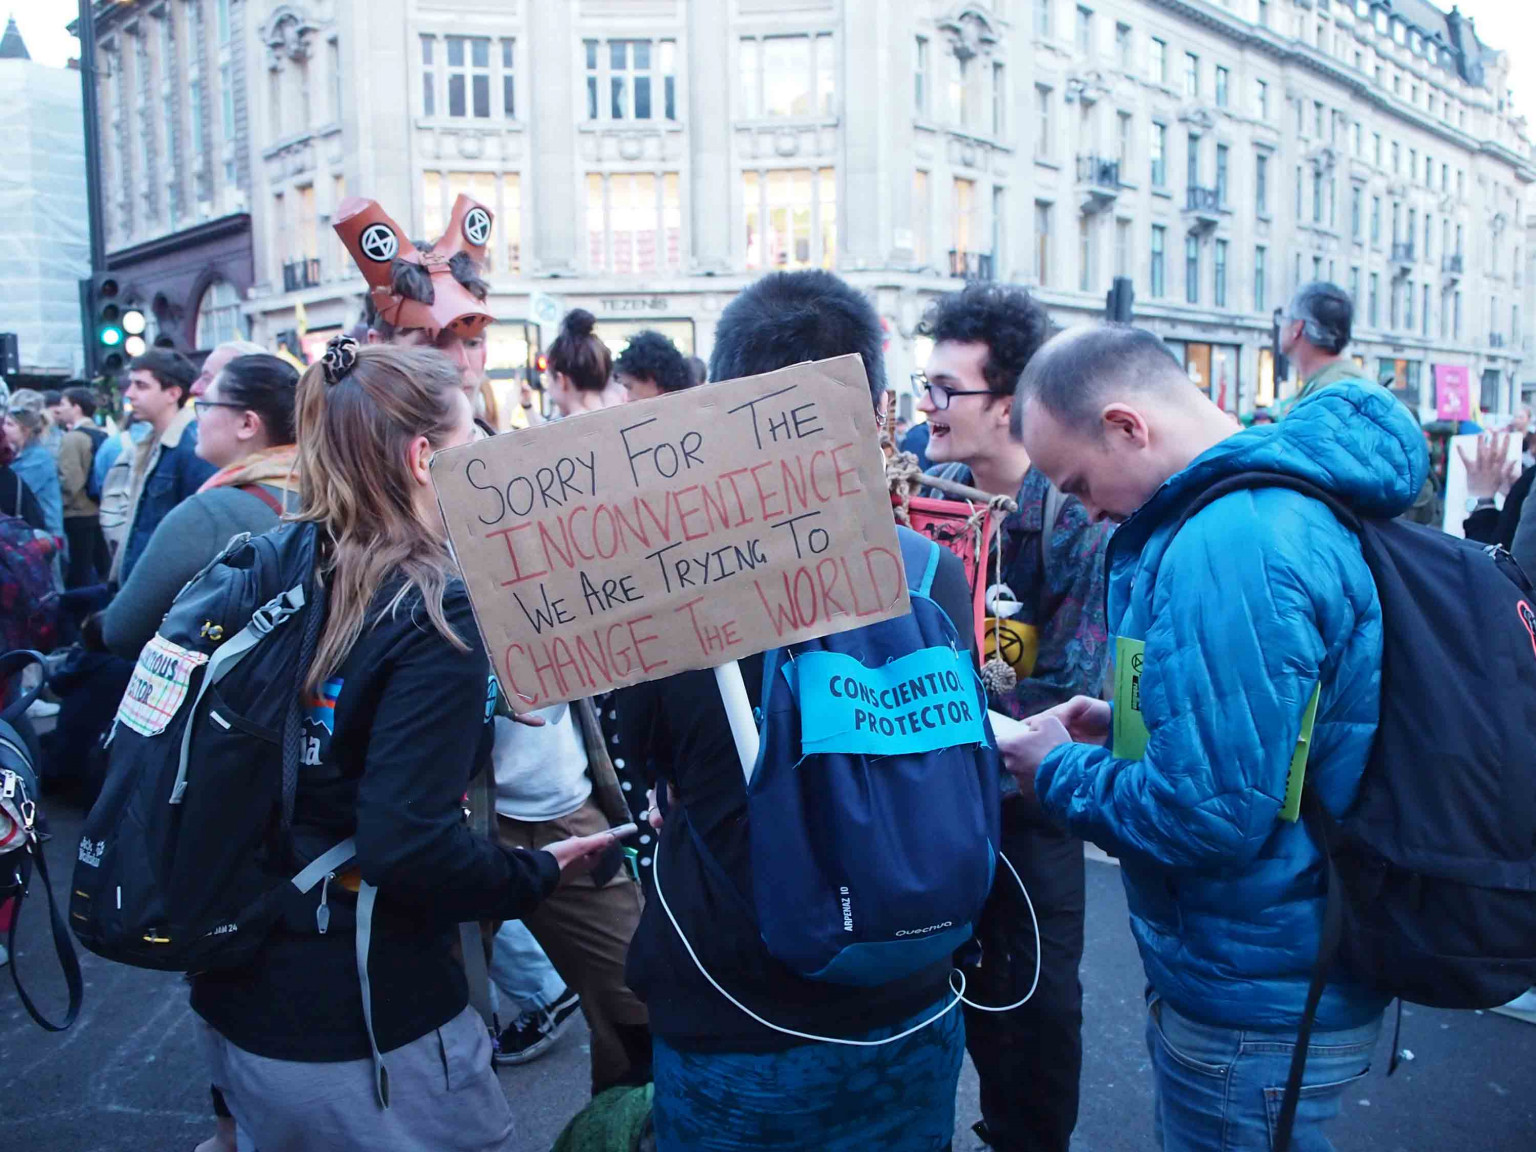
Phone image, compressed from 25MB to approximately 460K Phone image, compressed from 25MB to approximately 460K

Of course there is a reduction in image quality. But in most cases, even the most rigorous compression produces barely notable loss of quality.

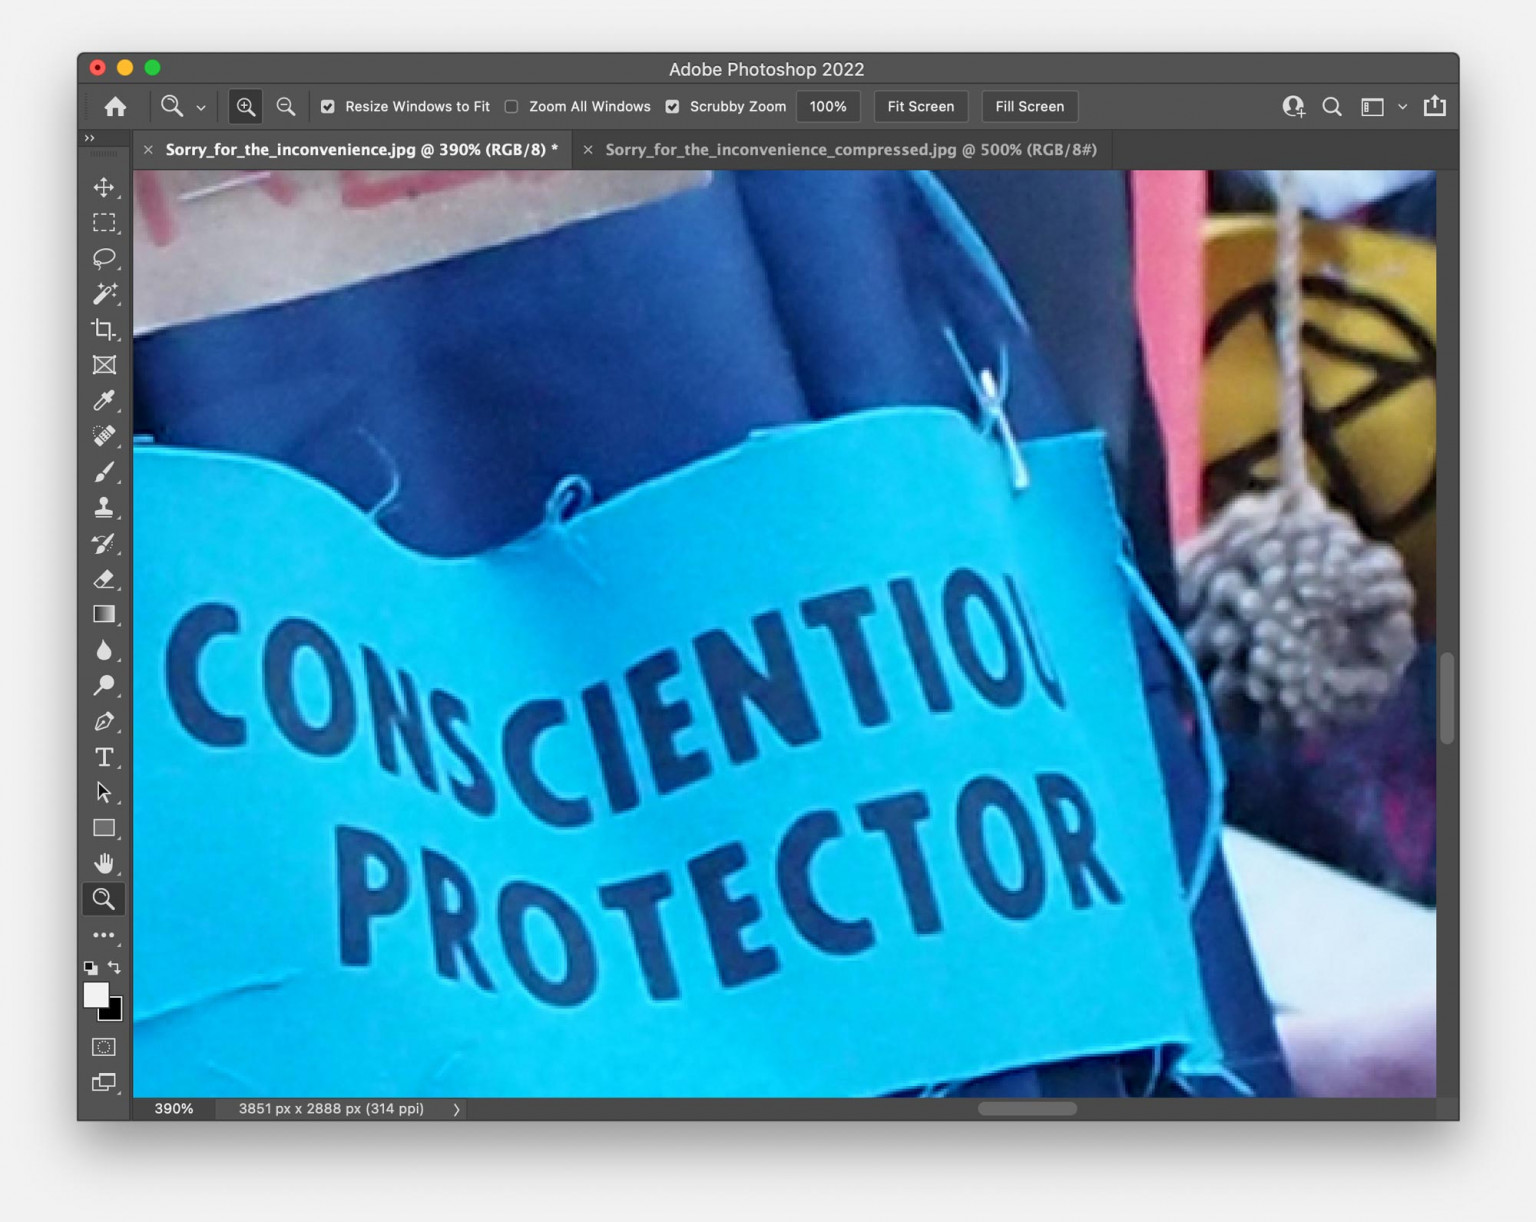
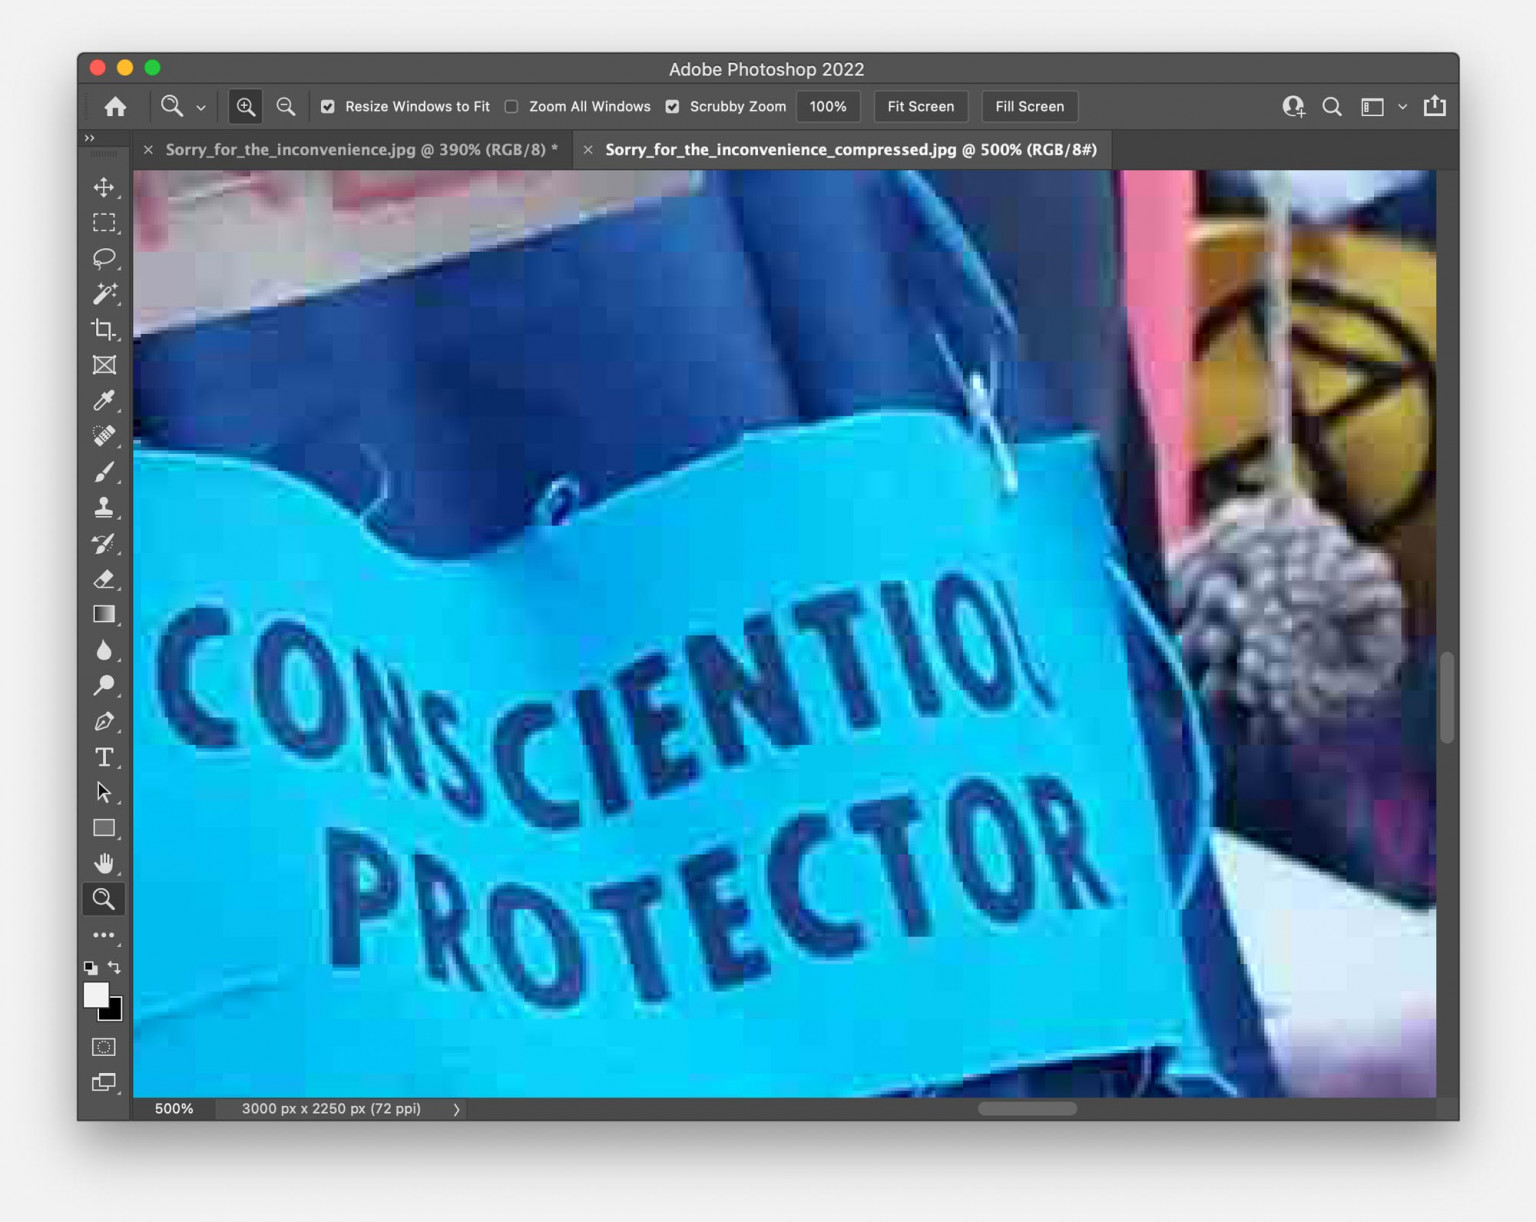
The places you might notice issues are around the edges of sharp lines or large areas of relatively flat colours. See below for zoomed-in examples of images compressed from the image above.

Barely compressed digital image Barely compressed digital image
The same digital image with maximum compression The same digital image with maximum compression

What software to use

Almost any image editing software will allow you to save jpegs and decide the level of compression. 

If you have Adobe Photoshop then that is the industry standard and gives the most visual control. But you don’t need to use Photoshop. 

‘Preview’ is free software on all Mac computers and ‘Paint’ is bundled on all PC computers. 

There are lots of free online software options, ‘Gimp’ is great. 

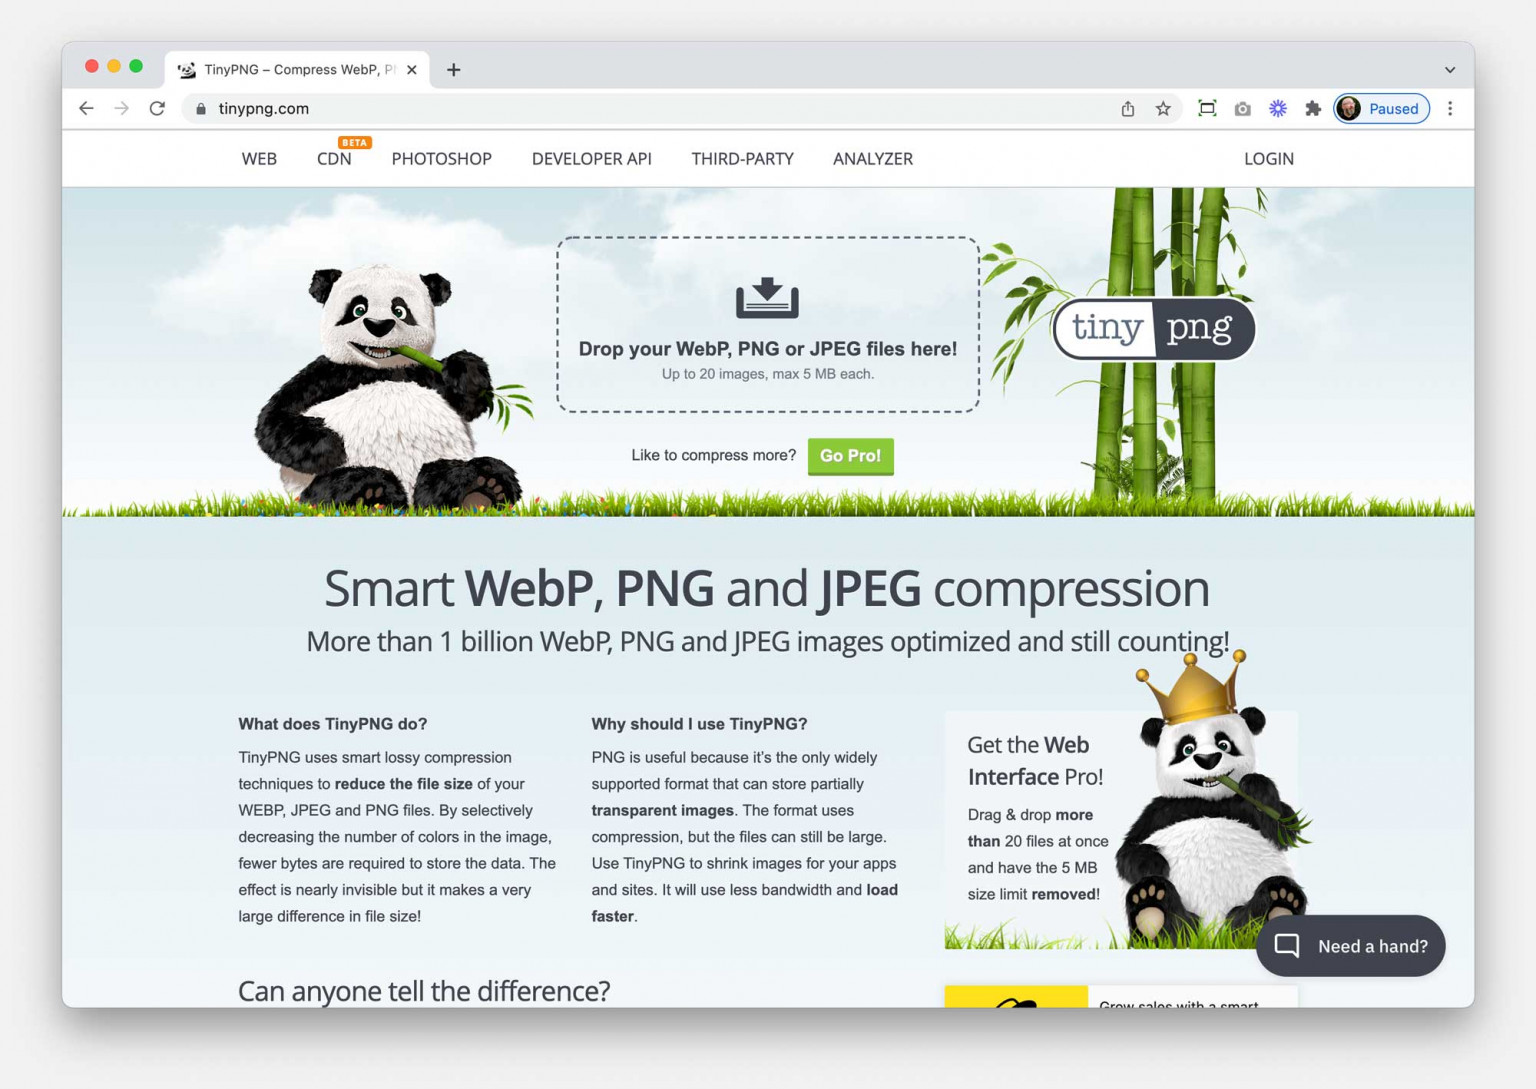
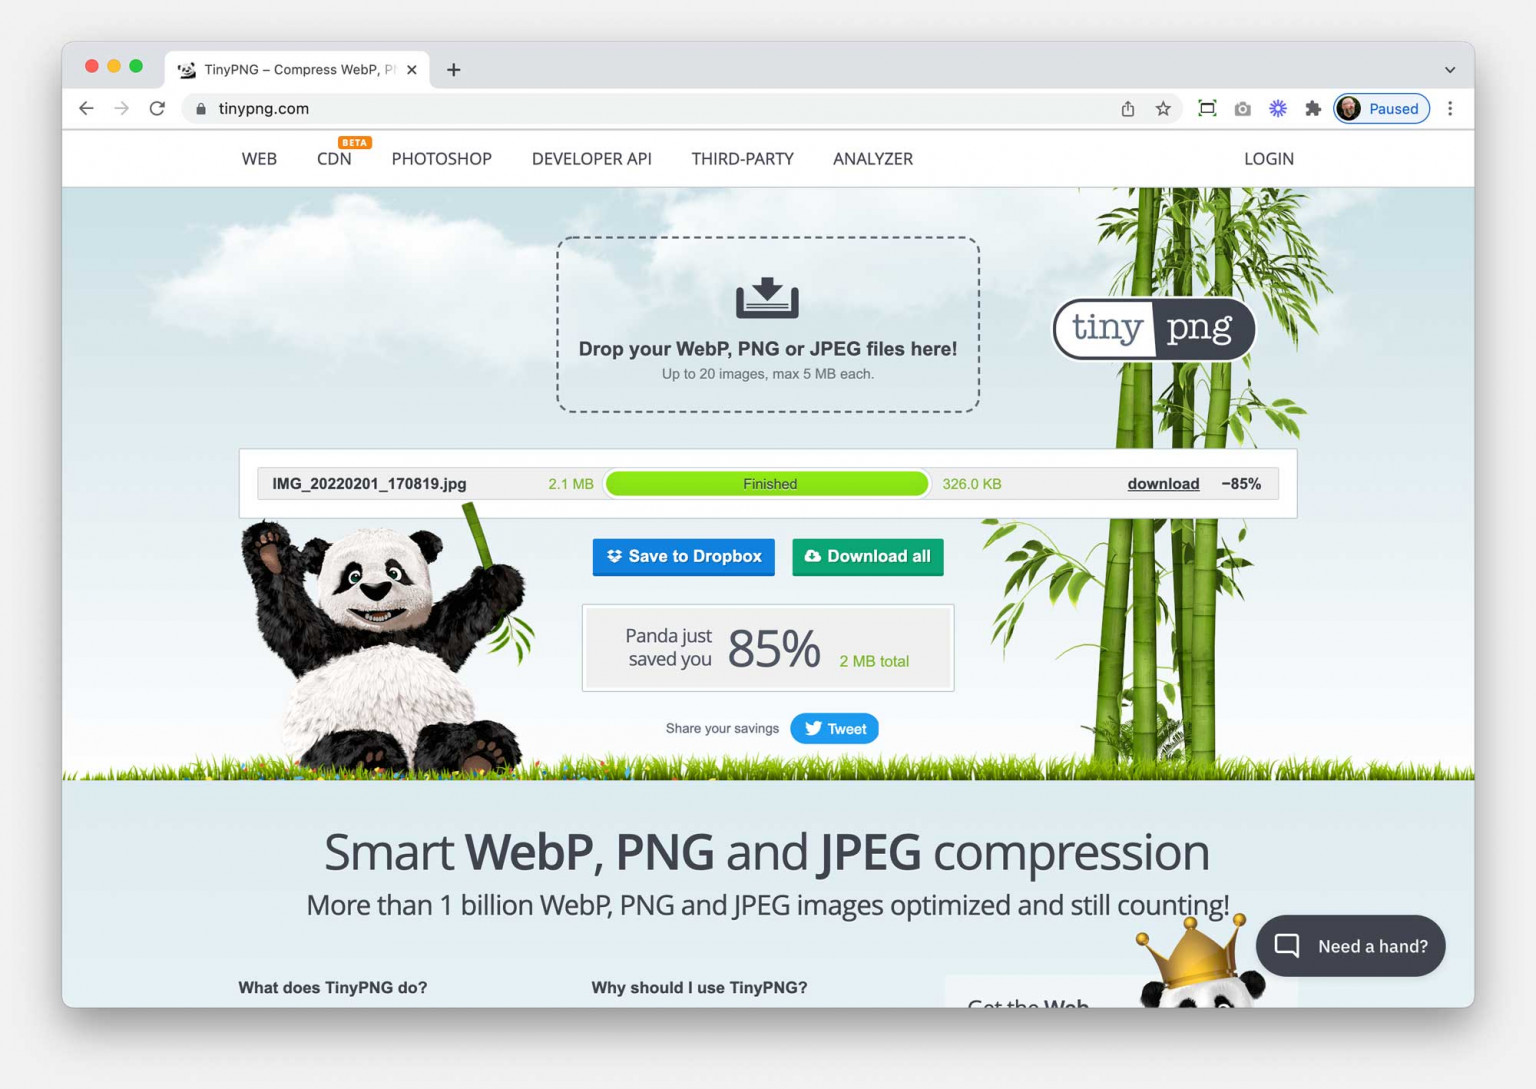
And there are some excellent online resources: tinyjpg.com is our favourite and gives great results. 

We know that you won’t be used to using these software packages and platforms. If you ever need help, let us know and we’ll happily guide you through using whatever solutions you have to hand.

To summarise:

  1. Store original, uncompressed images on your local computer or internal networks.
  2. Use image-based software to crop and edit from the original, and make a copy.
  3. Keep the dimensions as big as you can, as big as the maximum size it will be displayed – 3000px wide is usually good enough for almost all on-screen displays, 1000px wide is usually enough for images in smaller boxes.
  4. Compress that image using your software or an online service.
  5. Use your naming convention to give the image a meaningful title, and upload it via your content management system.
  6. If you need help, let us know.