On a half-day First Aid course Ed learnt some useful skills, made some new friends and chatted about cats
Ed’s first First Aid course
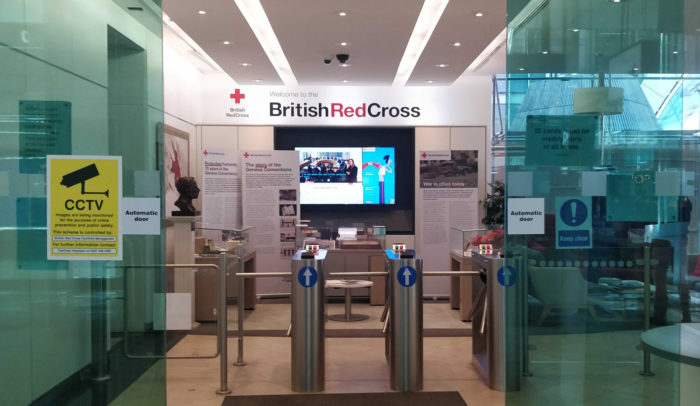
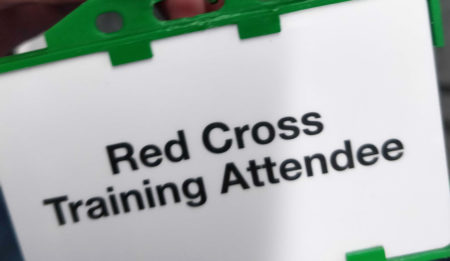
As Studio Manager I am Cog’s designated first aider. My role includes being on-hand if any accidents happen, maintaining our stocks of first aid supplies, and noting anything noteworthy (to learn from and record for the future). In order to be well equipped for this I booked myself onto a First Aid course with the British Red Cross.
There’s something very reassuring about being in the Red Cross building – with at least one trained first aider on every floor there’s no better place to have an accident.
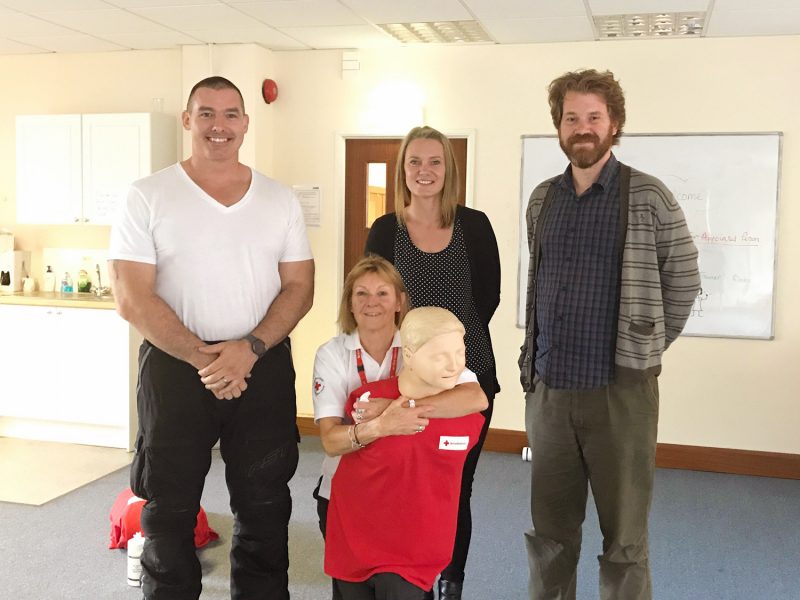
My group was made up of all sorts of people, from charity workers to city lawyers. Most of them, like me, were in new jobs and new to the world of designated first aiding.
We started with an ice breaker which involved some ‘fun fact’ sharing, during which we discovered that between us we had quite the menagerie of pets, including two cats called Loki and Thor, a kitten called Skimbleshanks and a growing collection of rescue schnauzers (I’ll leave it to you to guess which one of these belong to me).
Now that we all knew each other a bit better it was time for the real learning to start.
We began with a lesson on how to respond to an unresponsive casualty.
Assessing a casualty
Step one is to always check for danger.
Our instructor Darren emphasised that the most important step when administering First Aid is making sure that you’re not putting yourself in danger. Although rushing to someones aid can be an instinctive thing to do, if you get injured in the process then you leave two people who need help rather than one, making the situation much worse.
Once you’ve made sure you’re safe, the next step is to find out what state the casualty is in. Talk to them and gently shake their shoulders to see if you get a response.
If they’re not responsive it’s vital to establish whether they are breathing. Open their airways by placing two fingers under the chin, and gently angling their head back with your other hand.
Bring your ear close to their mouth and nose and look at their chest in order to establish whether or not the person is breathing normally.
Darren stressed that when it comes to breathing there are no grey areas. If the casualty’s breathing sounds regular then you should assume they’re breathing, but if their breath is raspy or they’re breathing in gasps then for the purposes of the First Aider, and the emergency services, they should be treated as if they’re not breathing.
If the casualty is breathing regularly then check for any injuries that are bleeding heavily and put pressure on the wound – an assessment Darren referred to as circulation.
The key terms to remember are danger, response, airways, breathing, and circulation. These are easily remembered by the acronym DR ABC.
Once you’ve established that the casualty is unresponsive but breathing you need to put them into the recovery position and call the emergency services.
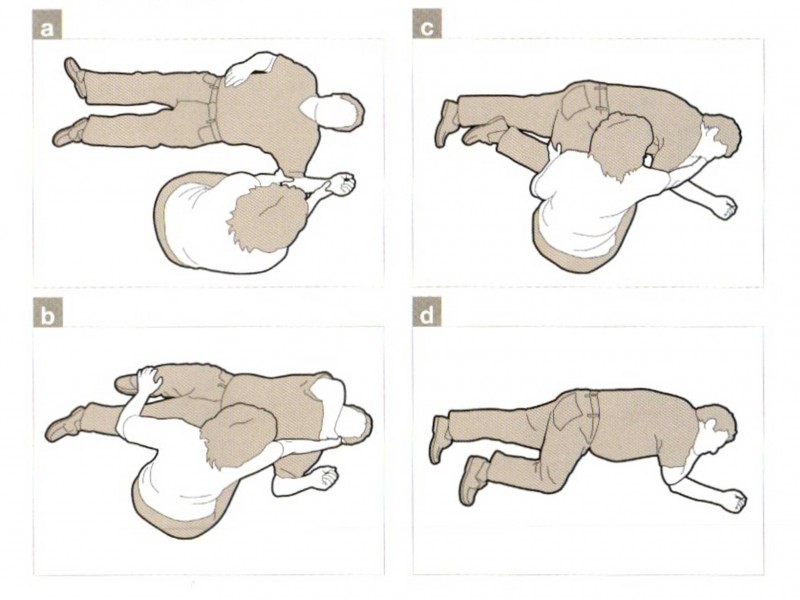
The recovery position
It was time to get out of our seats and role-play some emergency situations.
Instructor Darren kicked things off by demonstrating the recovery position on a reluctant volunteer.
The recovery position is an important means of opening up an unconscious person’s airways and ensuring they don’t choke.
Once you’ve carried out your DR ABC assessments and called 999, start by kneeling next to the casualty and placing their arm at ninety degrees to their body (“as if they’re hailing a bus” instructor Darren said).
Take their other hand and bring it to their chin, interlocking your fingers to ensure you have a strong grip.
Keeping hold of their hand, place your free hand on the back of their leg and gently roll them towards you so that they are resting on their side.
Adjust their legs and check their airways again.
Having been shown how to put someone into the recovery position it was time to practice.
Even though we were just practicing, putting someone who’s not responding into the recovery position is quite a scary experience. Similarly, pretending to be unconscious whilst someone puts you into the recovery position can be a bit tense. It felt like we were doing trust falls.
CPR
After practicing the recovery position we had a quick break. When we came back we learnt what to do when someone is unresponsive and not breathing.
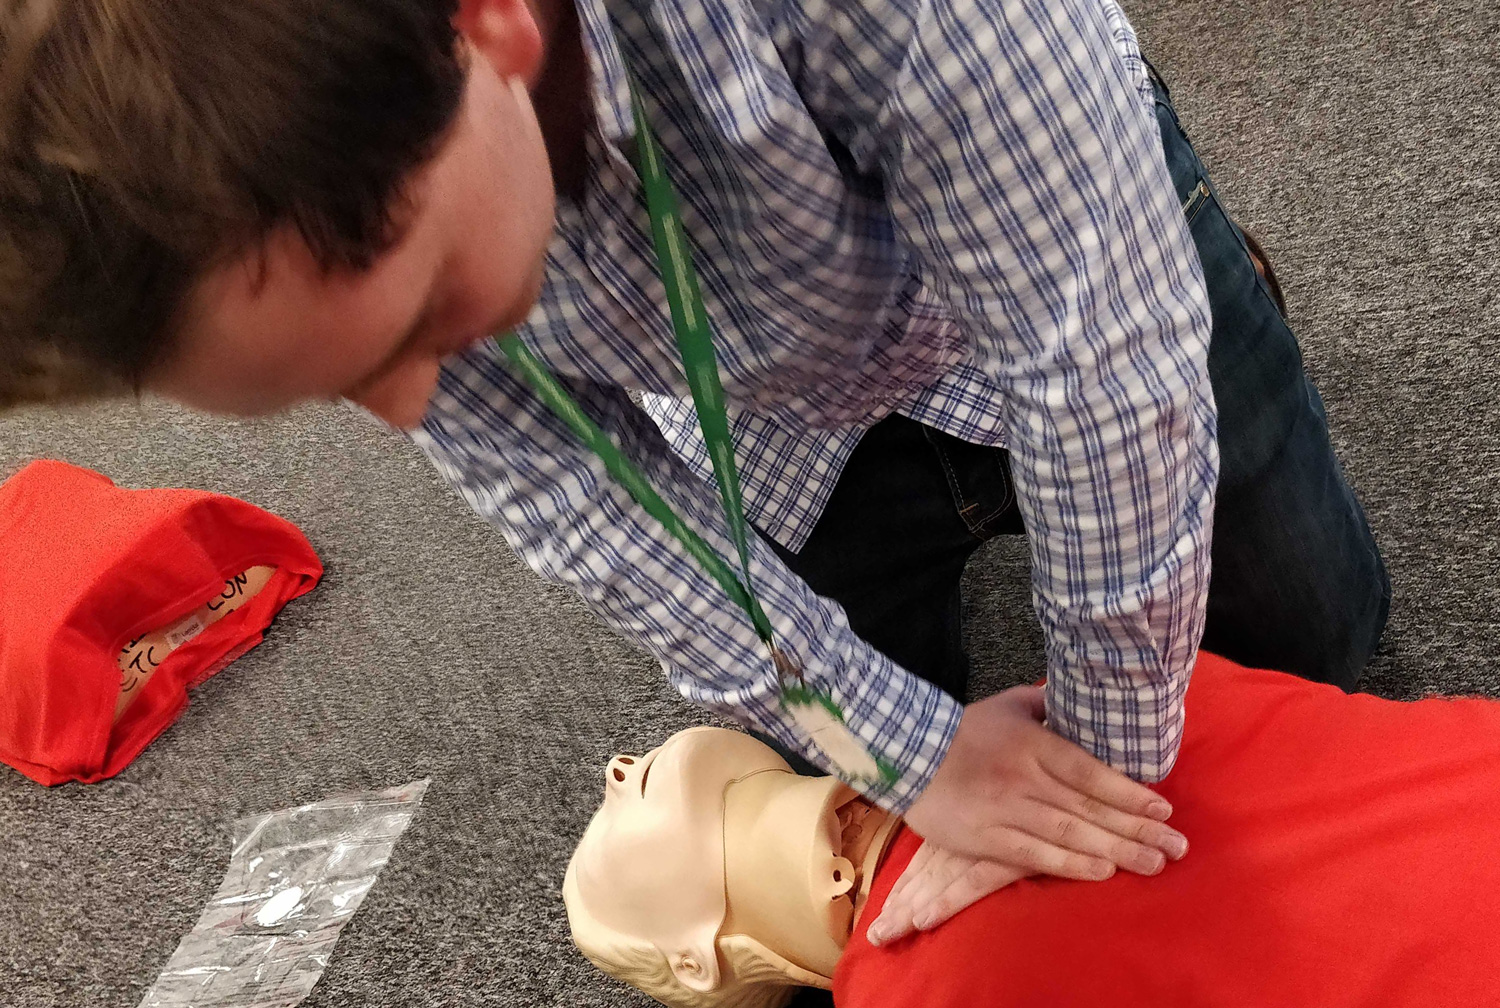
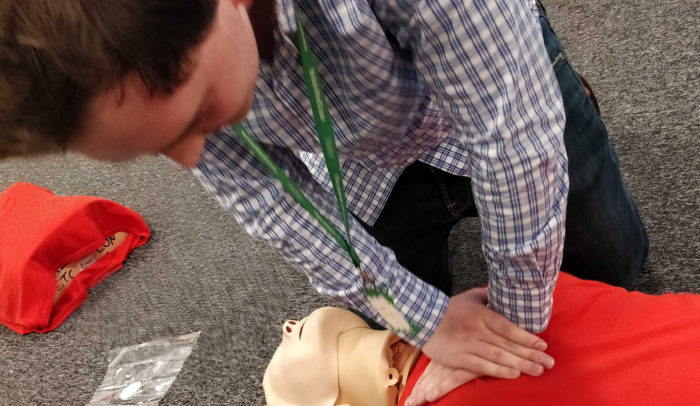
CPR stands for Cardio-Pulmonary Resuscitation and is vital means of getting oxygen to a casualty’s brain.
This is where Annie came in, the famous training dummy used to demonstrate and practice CPR.
Before administering CPR, call the emergency services or make sure someone else has done so.
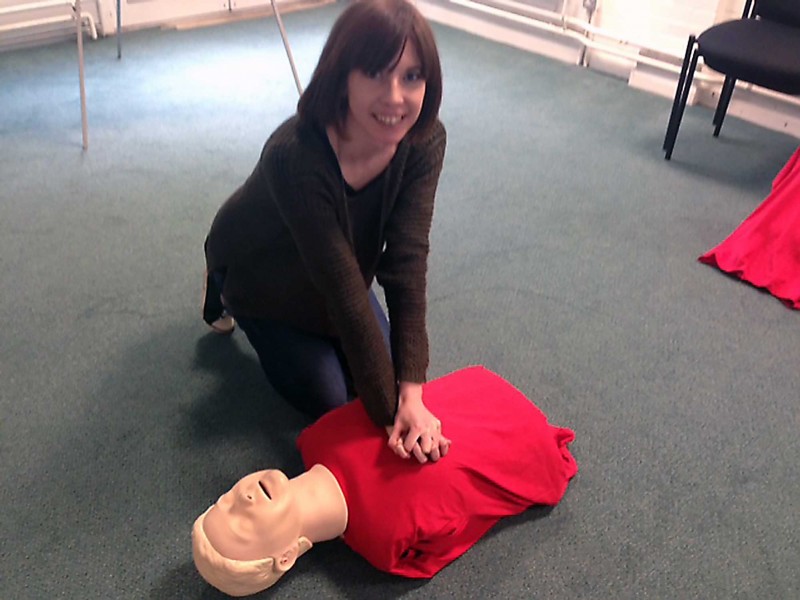
Then alternate between thirty chest compressions and mouth the mouth rescue breaths.
Chest compressions should be done with the heel of the hand. Place one hand over the other, and lean over the unresponsive person. Don’t be afraid to be a bit forceful when administering chest compressions. If you’re too gentle the compressions wont reach the heart and therefore be less effective.
Compressions need to be given at a rate of 100-120 a minute or approximately two a second.
Rescue breaths: after thirty chest compressions, give two rescue breaths. Gently angle the head back with two fingers. Pinch the nose, cover the casualty’s mouth with your own to prevent any air escaping, and exhale deeply.
Repeat this alternating compressions and rescue breaths until the emergency services arrive and take over.
If you get too tired ask a bystander to take over. This is because if your rate of compressions slows down too much the CPR stops being helpful.
First aid in the workplace
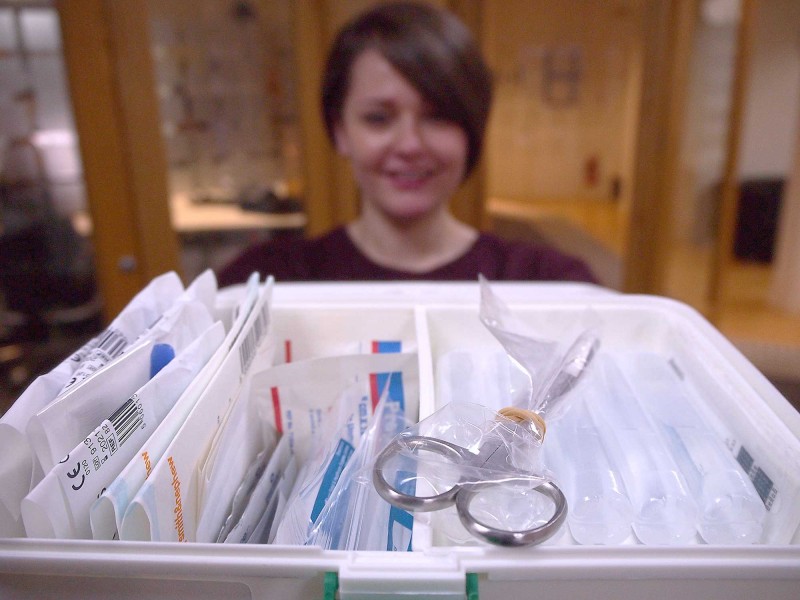
We rounded off our afternoon with a conversation about health and safety requirements in the workplace. We started with a really useful chat about what should (and shouldn’t) be in a first aid kit. I hadn’t realised that a first aid kit shouldn’t contain pharmacist drugs such as Paracetamol and Ibuprofen. I’m glad to say that the Cog first aid kit is properly stocked with the necessary bandages, plasters, and safety scissors.
If an accident does happen in the workplace it should be recorded in an incident log. This is done in order to make sure there are accurate historic records, just in case the incident has repercussions in the future. Because this log contains sensitive personal information it needs to be kept in a private place – a locked drawer or a secure file.
With the workplace health and safety lesson over our training was complete. We said our goodbyes and our thank yous to instructor Darren and made our way back to our respective offices and studios. We had learnt a lot of really useful information that could potentially save someone’s life, and whilst I hope I never have to use it, I’m glad that in such a situation I would now know what to do.
Related
Emily’s intro to First Aid
If someone near you collapsed or stopped breathing, would you know what to do? At a one-day Red Cross course,...
29 April ’14
Donna is out learning first aid. Apparently, rule number one is remember to smile for the camera.
22 June ’12
Nicola has been First Aid training with the British Red Cross. Recovery position trained and face shield at the ready,...
12 January ’18
Emily's written a journal entry about being our appointed first-aid person. We're taking photos to illustrate the article.
13 November ’12
It's always disturbing to see a fire-engine called near our studio. Luckily this one seems to be a false alarm.
18 December ’14
It's relatively mild but we're still shivering as Lydia takes the roll-call during our fire-drill.
3 October ’19
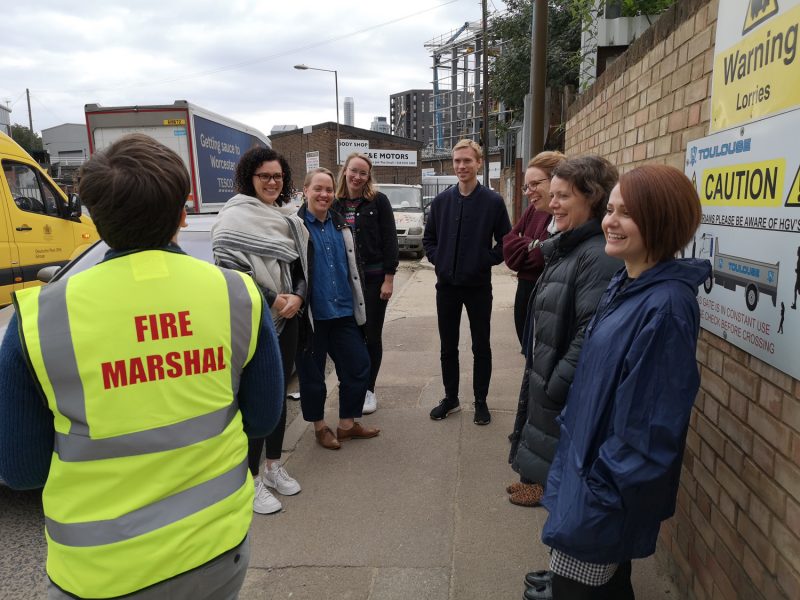
There's a new Marshal in town. Ed led us to safety in our annual fire-drill.
11 July ’18
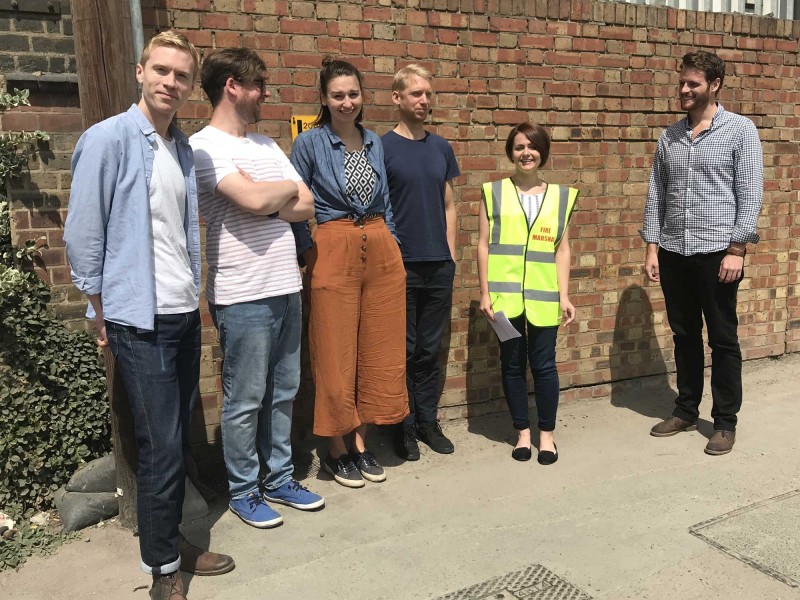
Emily's evacuated the Cog team into the sunshine for our annual fire-drill.
14 September ’16
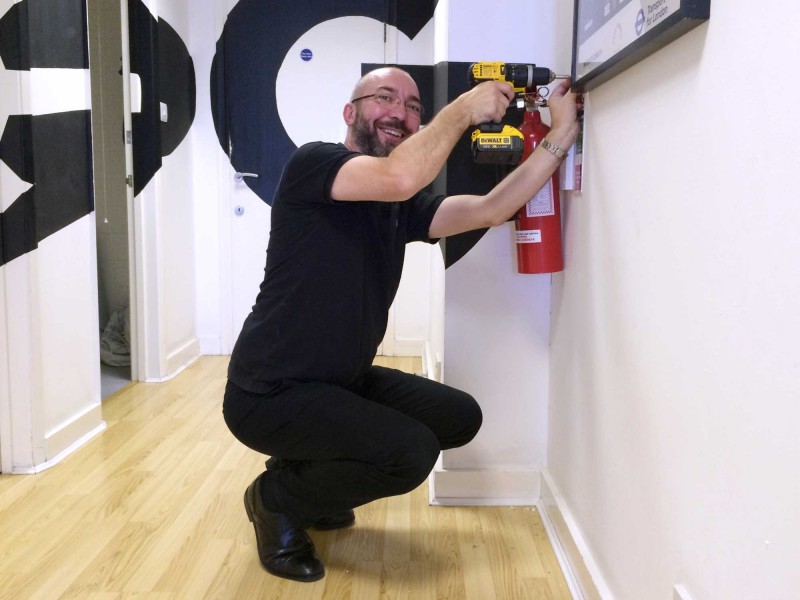
Fire Drill...! Michael's making sure we're all up to date with our fire regulations.
22 June ’16
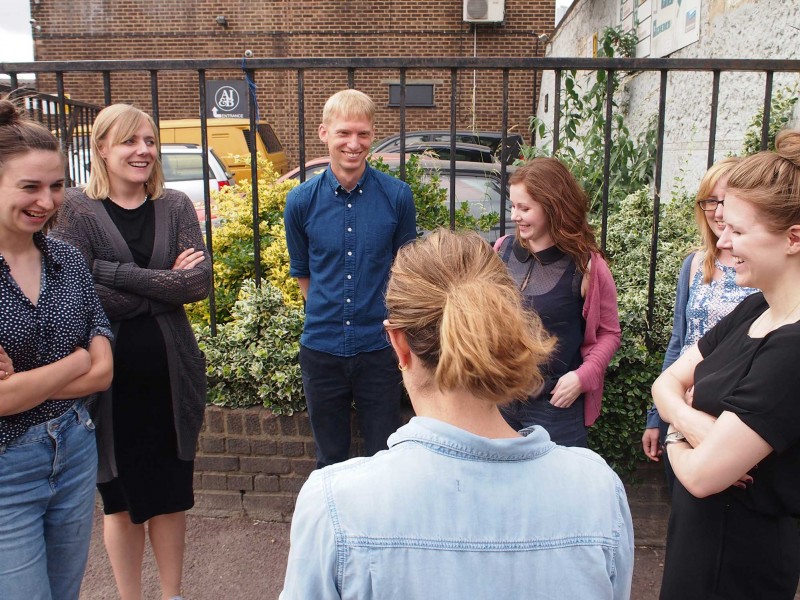
Roll call. Melissa's checking that we've all evacuated the building safely during out fire-drill.
18 August ’15
Michael and Sam are out visiting ISAN, whose team (newly appointed Exec Director, Angus MacKechnie and General Manager, Kendal Fever)...