If someone near you collapsed or stopped breathing, would you know what to do? At a one-day Red Cross course, Emily learned a lot and partnered with a body-builder.
Emily’s intro to First Aid
One of my duties as Cog’s Studio Manager is to be our appointed first aid person. As we’re a small, low risk team there is no requirement for me to have any formal qualifications – there are few major industrial accidents in an office full of people staring at Macs all day.
Nevertheless, as a team we’re happy to invest in training, in all areas of the business, if it makes people feel more confident and able to do a better job. So I signed myself up for a first aid training session with the British Red Cross. My session covered the basics: emergency evaluations, the recovery position, CPR and the legal requirements of health and safety in the work place.
As always I was keen not to be late so I arrived very early, long before my group. It was a little intimidating, waiting to see who would arrive in the designated concrete construction, in far from leafy Croydon.
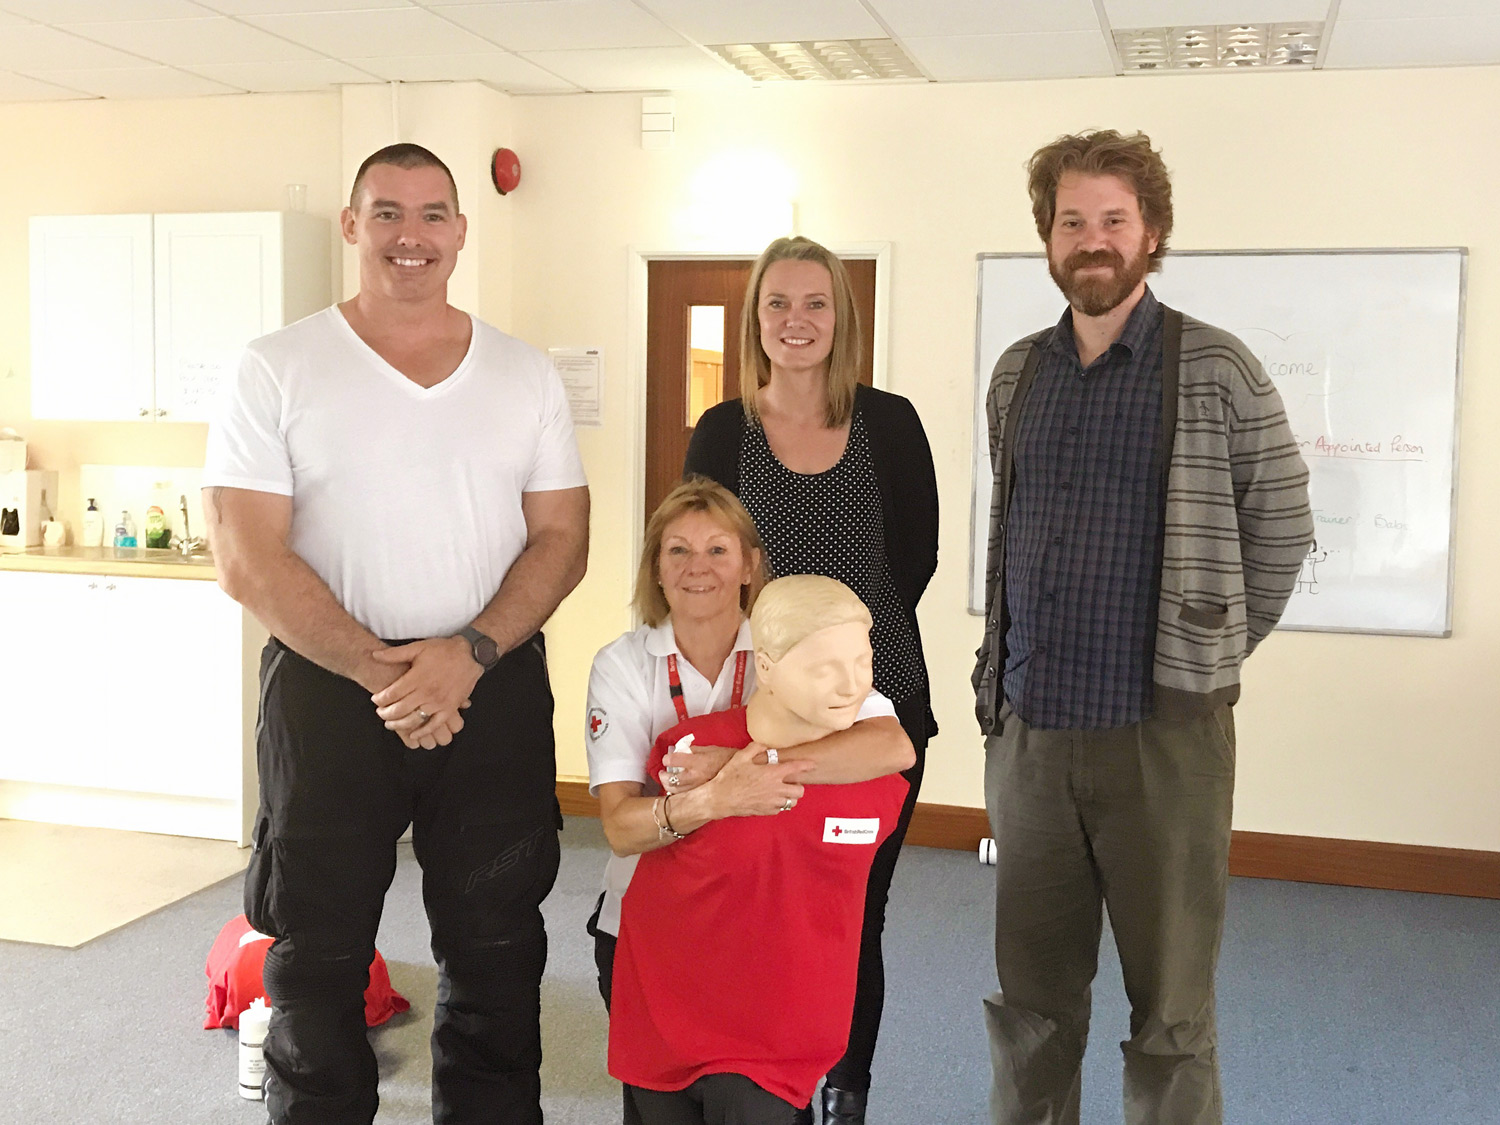
Eventually the others filtered in like characters from a sit-com: a body-builder, a wedding planner, an alternative-energy boffin and a very bubbly instructor called Babs.
After a quick introduction (and cup of tea) we dived straight into our first lesson: an unresponsive but breathing casualty.
As we were paired up I couldn’t help but wonder how easy it was going to be to move a 6ft 2 pro body builder into the recovery position. Whatever happened this was going to prove an interesting first exercise. Babs talked us through our steps…

The Cog first aid kit
Evaluation
Trying to remember all the necessary steps to evaluate an unresponsive but breathing casualty can be tricky for a first-timer like me. To help I found the helpful mnemonic: Dr ABC.
Danger – is it safe for you to approach? Evaluate your surroundings and make a judgement. If you determine that it is safe approach the casualty.
Response – Is the patient responsive? Get to their level, kneel beside them and shake their shoulders speaking into alternative ears “hello, can you hear me, hello?” Speaking into each ear will allow you to check if anything is preventing them from hearing you.
Shout – Call for help, this can alert passersby of the situation and allow them to call an ambulance while you treat the casualty.
Airways – Are they breathing? Look, feel and listen for breath. If there are no signs of breathing place your hand on their forehead and use your remaining hand to place two fingers under their chin, slowly tilting their head up.
Circulation – Check for signs of severe bleeding. If they are bleeding apply pressure to the area and raise the affected limb.
The recovery position
In our role-play scenario our ‘patient’ would be breathing and have no severe bleeding, meaning they could be placed into the recovery position to help keep their airways open and prevent choking if they vomited.
Top tip: When placing someone into the recovery position vocalising what you are doing can help prevent distress or confusion if your casualty regains consciousness.
Check their pockets – Are there any sharp objects? Running your hand against the outside of their pockets will make sure you are not rolling them onto something sharp which could cause them further injuries.
Arms – Put the arm nearest to you at a right angle, palm facing up. Then bring the other arm towards their head knuckle side up to their cheek.
Onto their side – Bend the knee furthest from you into a right angle. Holding their knee cap and the hand positioned next to their face pull them over onto their side.
Keep them comfortable – Tilt their head up to keep their airways open and then reposition their leg at 90 degrees and ensure their arm is resting comfortably.
Wait – it is important to wait with your casualty until the ambulance arrives so you can tell them what you have done and observed.
When completing the unresponsive but breathing exercise I had initial concerns about how I would be able to pull my partner into the recovery position as he was noticeably heavier and taller then me. I later found out that this was a misconception, regardless of your casualties height or weight you will be able to move anyone into the recovery position. If done correctly you should never lift anyone but simply use their body weight to roll them into the correct position.
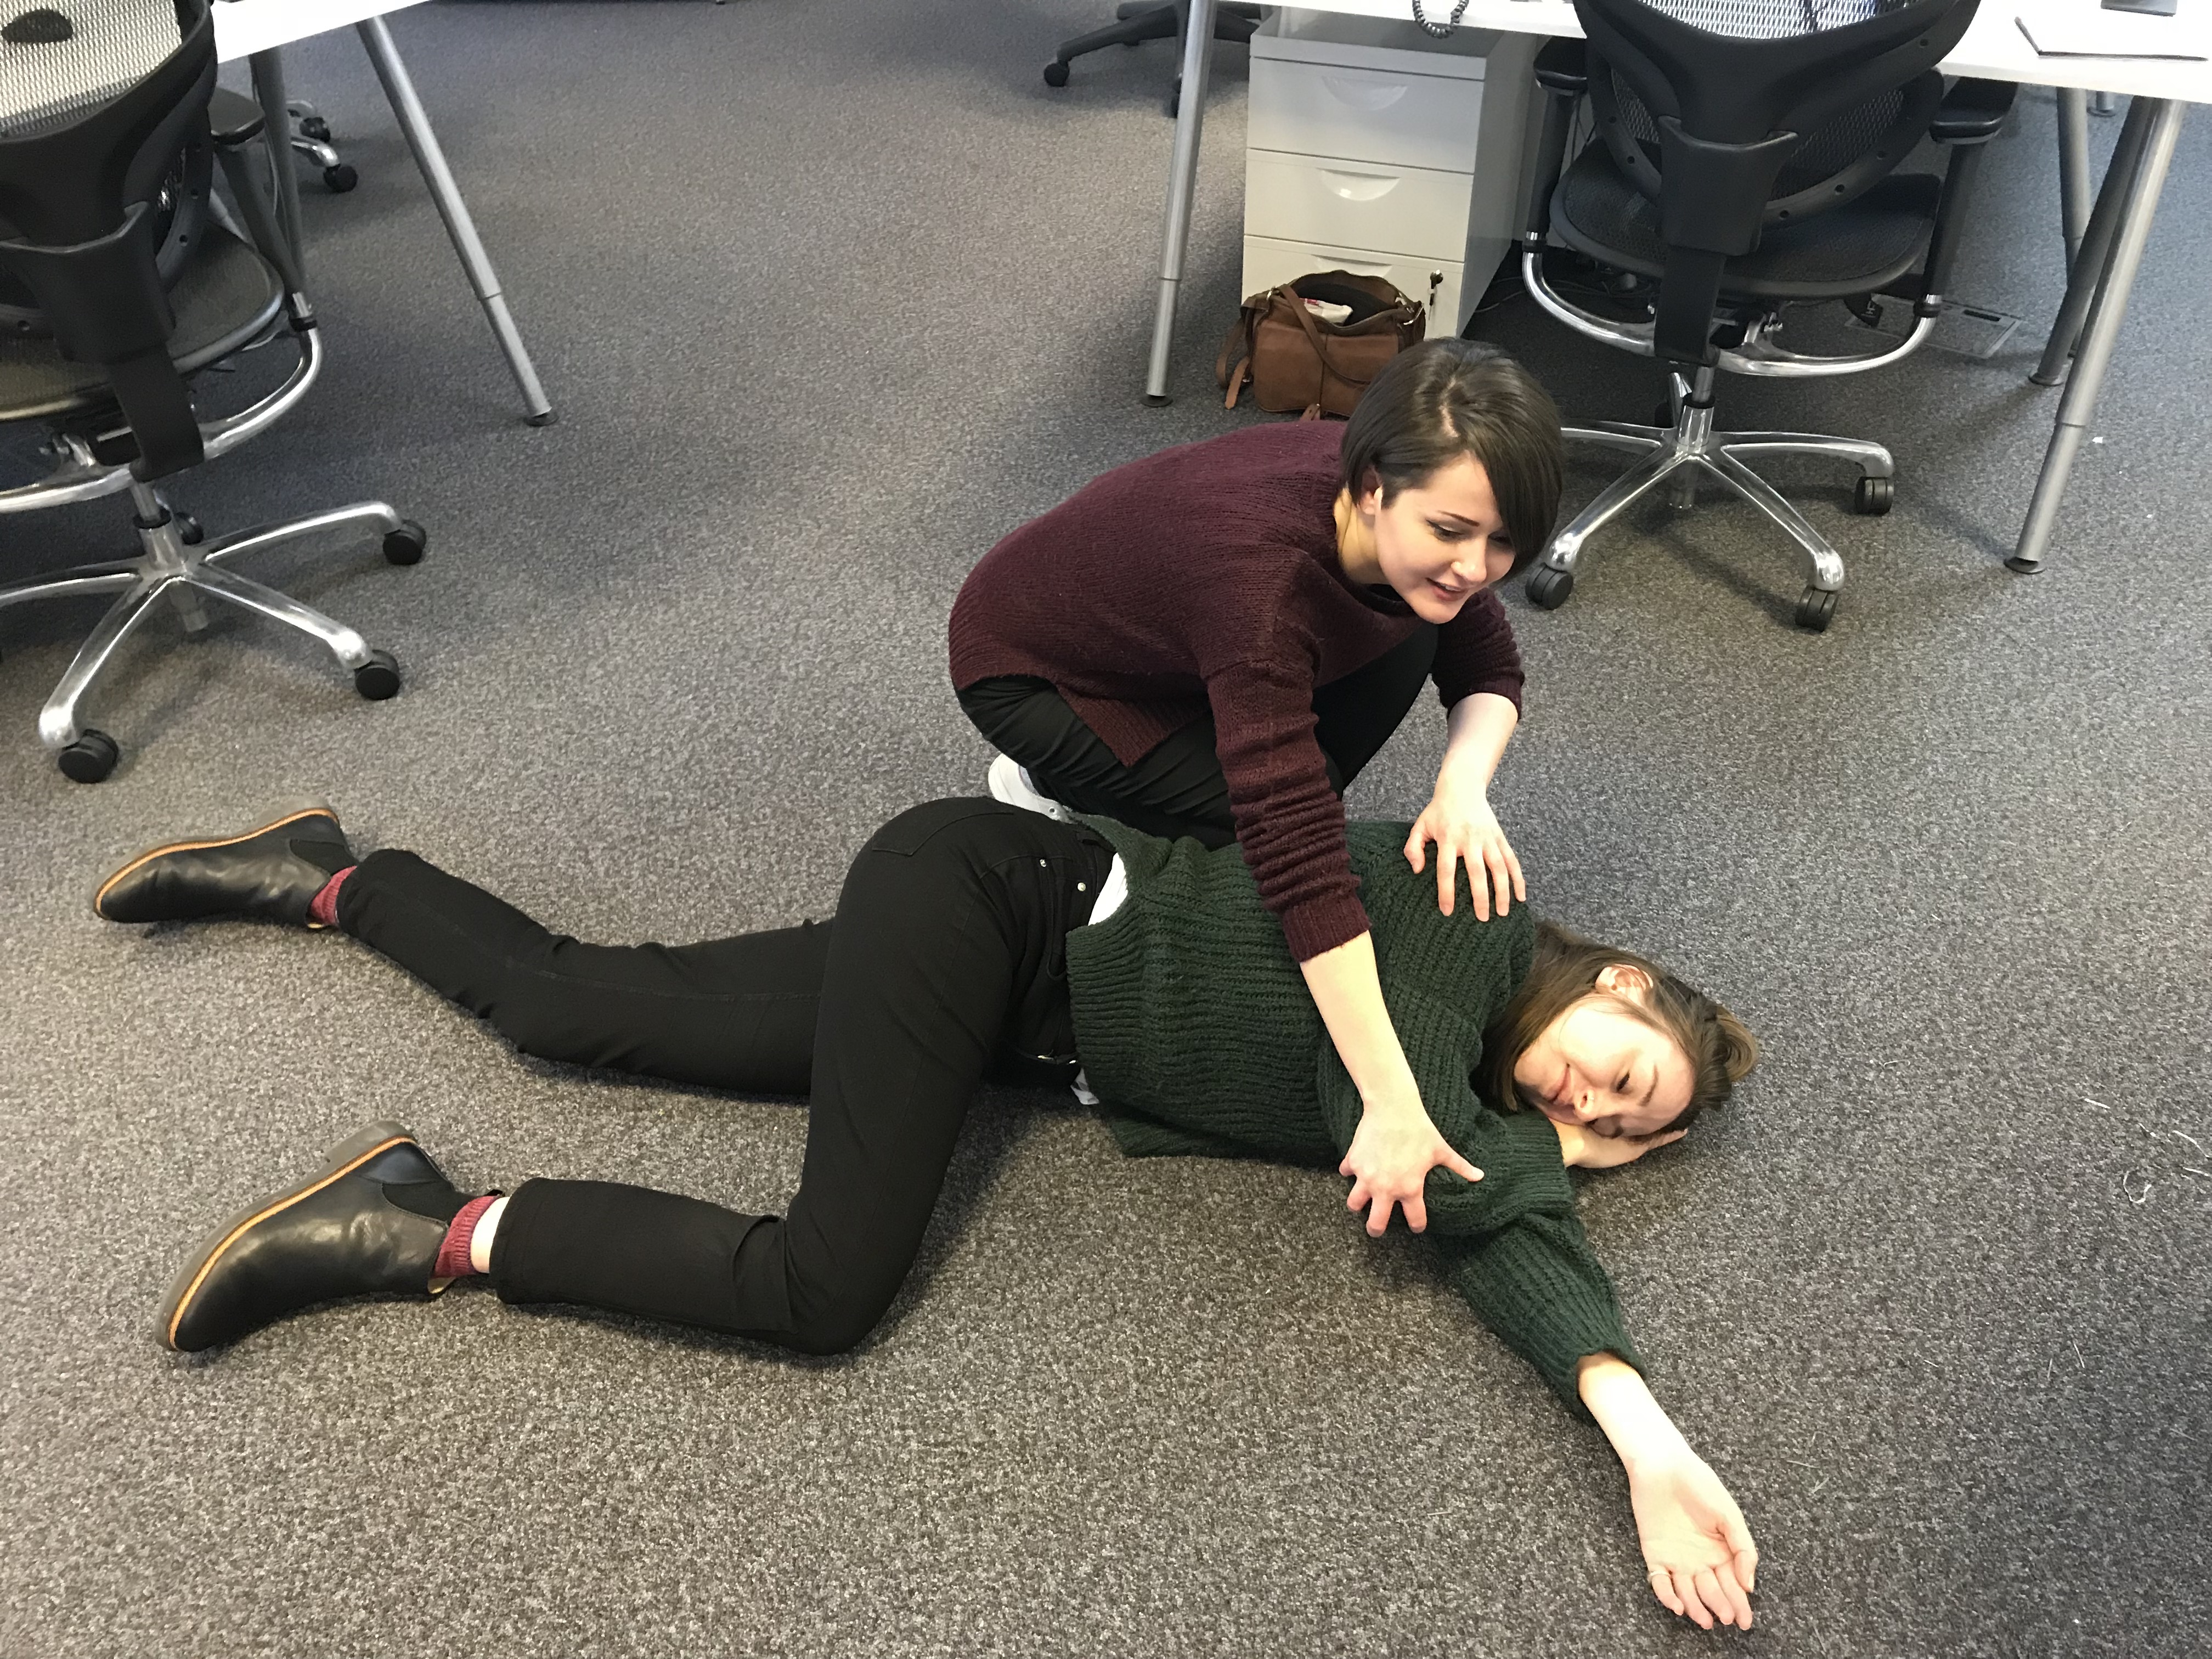
Emily demonstrating the recovering position to the Cog team.
CPR
After a short break we were ushered back to Babs and her assistant, Annie the mannequin, who were waiting to demonstrate our next lesson: CPR (Cardio-pulmonary Resuscitation).
Although we were all eager to start the practical, Babs reminded us of the importance of evaluating our casualty. By performing an evaluation it allows you to see if someone is responsive, breathing and gives you the time to alert others of the situation and request someone call an ambulance.
If, after your evaluation, they are still not breathing this is when CPR is necessary and should be performed immediately as it means their heart is no longer pumping unaided and is starving the brain of oxygen.
Top tip: many people (including myself) may feel uncomfortable at the thought of performing mouth-to-mouth on a complete stranger. Although it can aid CPR it’s not compulsory. And face shields are available, to act as a protective skin between you and them.
Open their airways – tilt their head back, pinch their nose and take two deep breaths into their mouth. If your breaths are successful you should see their chest rise and fall, if not it means their airways are still not open wide enough and you will need to tilt their head back further.
Chest compressions – good CPR requires 30 chest compressions at a rate of 100 – 120 a minute, followed by two breaths. When delivering your chest compressions place one hand over the other and lock your fingers together placing your palm directly over their heart. When doing your compression don’t be afraid to put too much pressure on the chest as the aim is to reach the heart pumping it manually, this means you need to reach beyond their rib cage.
Repeat – continue both chest compressions and breaths until an ambulance arrives or your casualty recovers.
Once we had all had a go at CPR (which is a lot more tiring than it looks), Babs, who was full of interesting advice, told us that when your casualty has been taken away by an ambulance it is unlikely you will find out how they are, but if you do and they complain of a painful chest or even a broken rib, it means your chest compressions reached their heart successfully. This started a discussion in the group about how tiring CPR can be especially when it comes to maintaining your timings and pressure.
As our group was doing well for time, Babs kindly ran to get an AED (Automated External Defibrillator) to show us how they work and the benefits of using one as an alternative to manual CPR. Once switched on the machine became a personal instructor, monitoring the casualty’s condition and deciding if you should continue chest compressions or if shocks were needed. This portable machine is definitely a useful aid. Not just for people who need to perform CPR but for the emergency services who can later extract the data and use it to provide further diagnosis and treatment.
Seizures
Once the AED demonstration was done our next focus was how to deal with seizures. Unfortunately if someone starts to have a seizure there is not much you can do other than make them comfortable by placing something soft beneath their head, removing any obstacles around them and remaining with them until they stop. It was surprising to learn that, in many cases, an ambulance is not necessary and can just cause the person to feel embarrassed once they have recovered. But if their seizure lasts longer than 5 minutes, they have caused themselves an injury, or they are not sure what caused the seizure it is a good idea to call an ambulance.
Another revelation to the group was not to put them into the recovery position. A lot of people make this mistake as they think the person could swallow their tongue, but how can they? Your tongue is rooted to the floor of your mouth so it wont be going anywhere, all your intervention will do is cause you or them injuries which could be avoided.
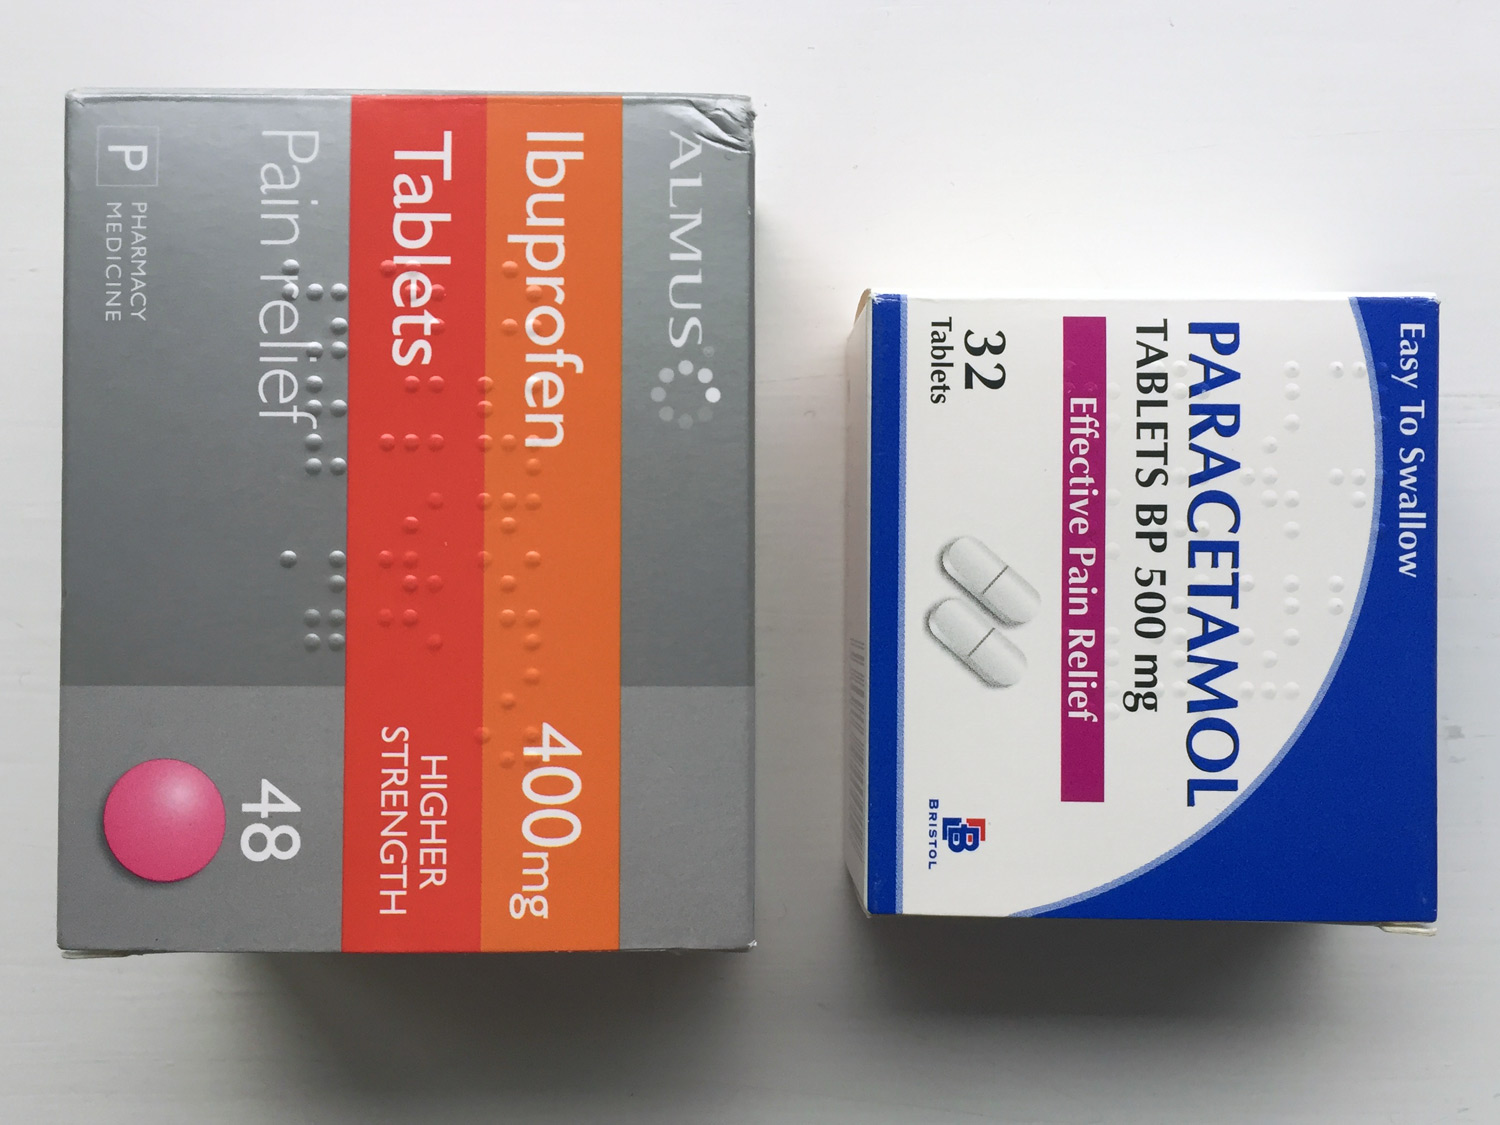
Typical pain-relief pills, not to be dished-out by first-aiders
Health and safety in the workplace
Sadly our training was drawing to a close with our final topic, looking at general health and safety in the workplace. The point of this section was to make sure we understood what type of equipment should and shouldn’t be kept in a first aid kit, and how an incident report should be filed.
During our discussion, one key recommendation was to keep over the counter drugs (like Ibuprofen, Aspirin and Paracetamol) out of a first aid kit. The ‘no headache pills’ rule may seem counter-intuitive in an office where people are staring at computers all day. But as an appointed first aider our role is to assist not prescribe medication. Of course people can take their own pills as they see fit but I wont be supplying them.
When it comes to recording an incident we probably all know to note key details such as time, date, injuries, prevention procedures etc. But did you know that this record should be kept in a locked area in the office? I didn’t until it was explained that the records can contain private information about team members, including condition, allergies etc. You need express permission from everyone to make that personal information freely available so it is sensible to lock it away from sight. But, of course, you also need to have procedures that allow access when required.
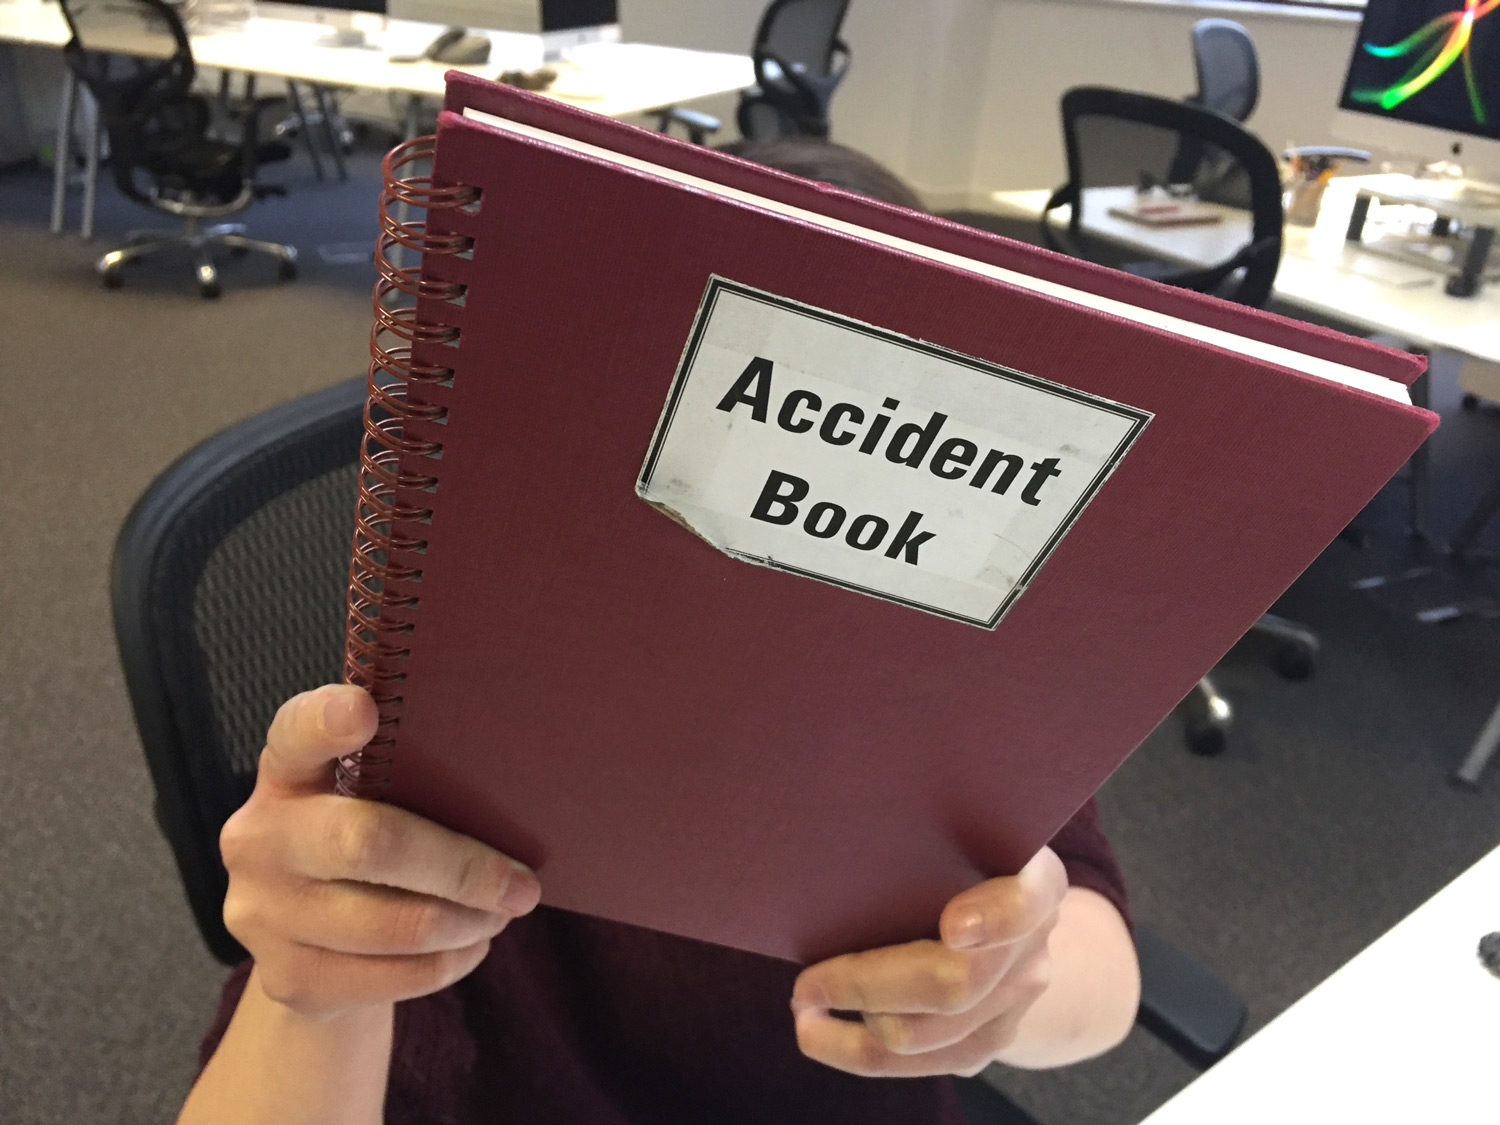
Cog’s accident book – taken from its locked drawer for this photo
Overall my first aid training was extremely enjoyable, I found the balance of practice and theory extremely well balanced. The enthusiasm of my instructor Babs made the overall experience relaxed and insightful. She has given me the confidence to deal with first aid situations as they arise.
Regardless of your skill level the British Red Cross training caters for all. They help people understand the importance of first aid and learning the skills which have the potential to save a life. That seems like a good investment to me.
